Why Your Website Images Are Too Big, and How to Shrink Them Without Losing Quality
Huge photos are one of the most common reasons websites load slowly, especially on mobile data. Learn how to choose the right format and size, compress images safely and make your pages faster for every visitor.

· 4 min read

You take a lovely photo with your phone and upload it straight to your website. It looks great, and then people tell you the page feels slow. The most likely reason is the picture. Modern phone cameras produce images that can be several megabytes each, and a page with a handful of them can be heavier than the rest of the site put together.
This matters even more where many visitors use mobile data. Every megabyte costs them money and time, and a slow page makes people leave before it finishes loading. Search engines also take speed into account. Fixing your images is often the quickest way to improve a website.
Step 1: Use the right size
A photo straight from a phone may be four thousand pixels wide, but your website may show it in a space only eight hundred pixels wide. The browser still downloads all four thousand pixels and then shrinks it on screen. That is wasted data.
Find out how wide the image appears on your page, and resize it to about that width. For a full-width banner, 1600 pixels is usually plenty. For a picture in a blog post, 1000 to 1200 pixels is often enough. For a small thumbnail, a few hundred pixels will do. If you want images to look sharp on high-resolution screens, you can go up to twice the display size, but not more.
Step 2: Choose the right format
JPEG is best for photographs. It handles millions of colours and gets small when compressed.
PNG is best for logos, icons, screenshots and anything with sharp edges or transparent areas. It is not good for photos, because the files become very large.
WebP is a modern format that is usually smaller than both JPEG and PNG at similar quality, and current browsers support it. If your website platform can serve WebP, use it.
SVG is ideal for simple logos and icons, because it stays sharp at any size and is tiny.
A common mistake is saving a photo as PNG. It can easily be five or ten times larger than the same photo as JPEG.
Step 3: Compress
Compression removes data the eye hardly notices. For JPEG, a quality setting of around 70 to 85 percent usually gives a big saving with no visible difference. Always compare the result with the original before you publish. If you can see blocky patches or fuzzy edges, raise the quality a little.
As a rough guide, many photos on a normal web page can be kept between 100 and 300 kilobytes, and small graphics well under 100 kilobytes. Your needs may vary, but if an image is over a megabyte, it almost certainly needs work.
You can compress images with the free image compressor on this site, under Learn then Free tools. It works in your browser, so your pictures are not uploaded to anyone else's server, and you can see the size before and after.
Step 4: Load images only when needed
Images that are far down the page do not need to load until the visitor scrolls near them. Most modern websites support lazy loading, which waits to load those images. Do not use it for the very first image people see at the top of the page, because that one should appear as fast as possible.
Step 5: Describe your images
Add short, clear alt text to every meaningful image. It helps people who use screen readers, it shows when an image fails to load and it gives search engines context. Describe what the picture shows in a natural sentence, and leave it blank for purely decorative images.
Step 6: Test the result
After you update your images, open the page on a phone using mobile data and see how it feels. Free speed-testing tools will also tell you which files are heaviest. Look at the biggest files first, because a few large images are usually responsible for most of the delay.
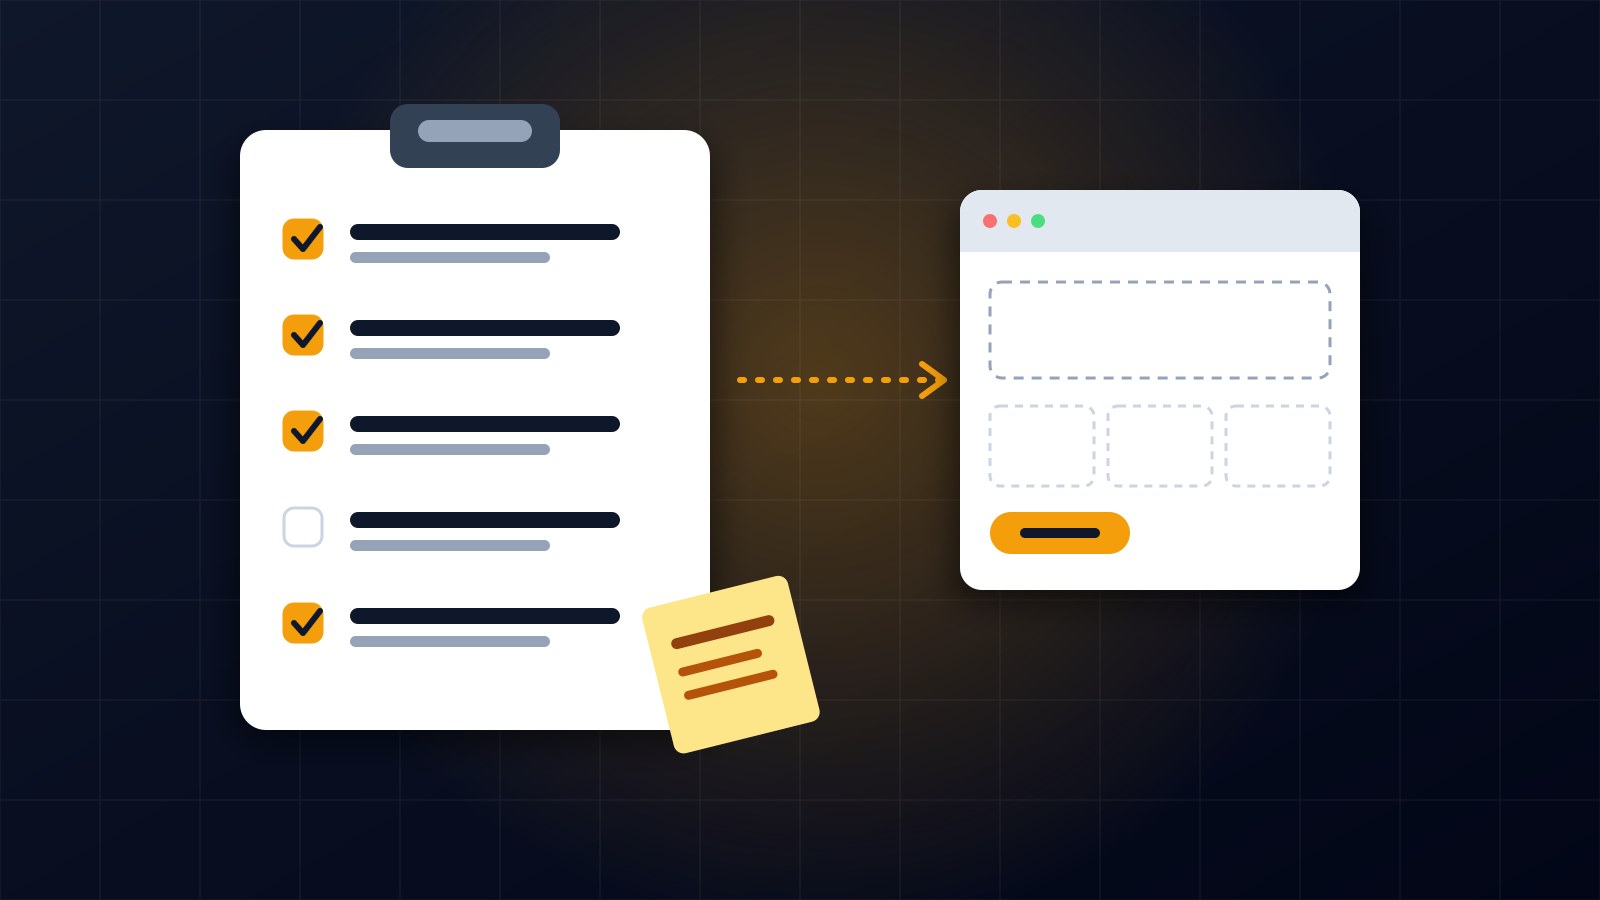
A simple routine for every new photo
Resize it to the width you need. Save it as JPEG or WebP, or PNG only if it needs transparency. Compress it and compare it with the original. Give the file a clear name, such as "bakery-front-counter.jpg", instead of "IMG_4821.jpg". Add alt text when you place it on the page.
Making this a habit takes about a minute per image, and your visitors will notice the difference, even if they never know why the site suddenly feels faster.
About the author
Francis Landford
Software Engineer | Creative Problem Solver | Innovative Software Solutions & Modern Applications
More about Francis Landford →

Discussion (0)
Sign in or create a free account to join the conversation.
No comments yet. Start the conversation.